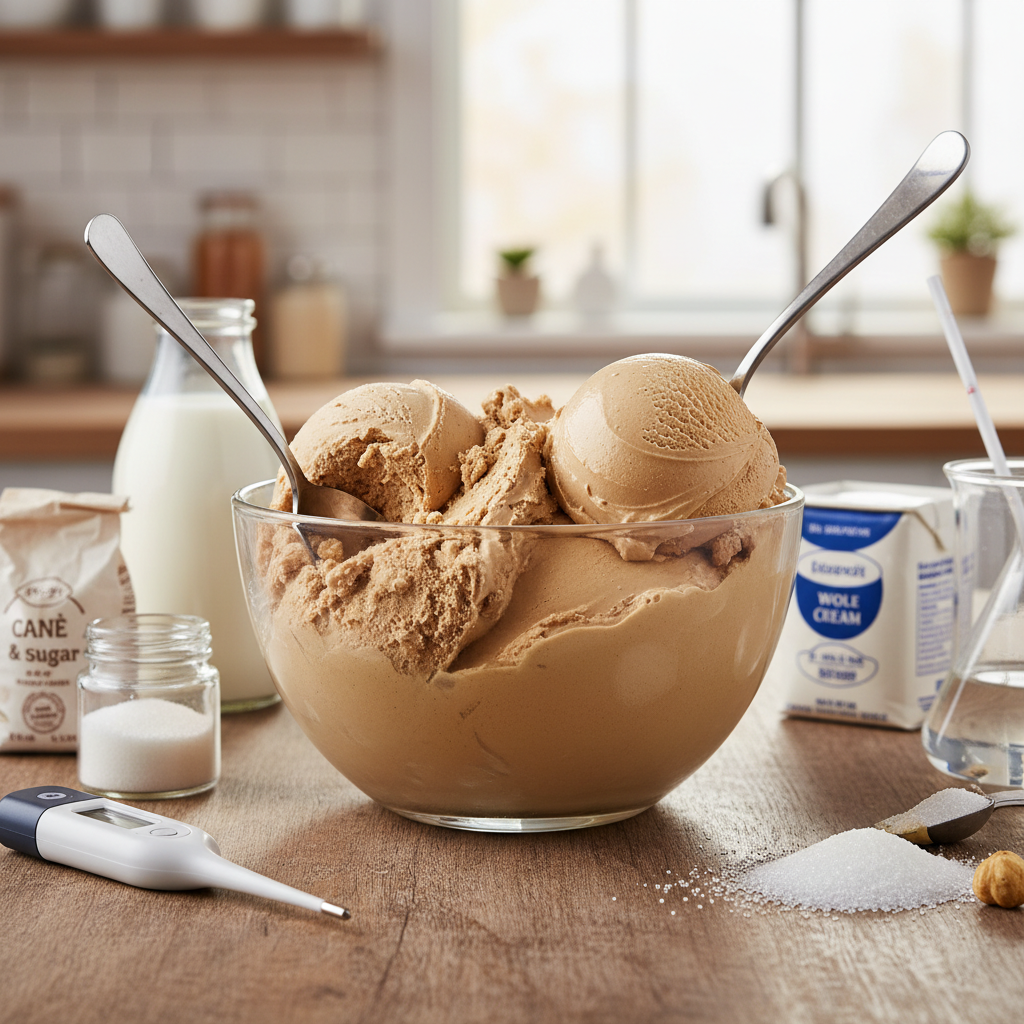
As an ice cream enthusiast and long-time technician, I know that the secret to consistently delightful homemade ice cream isn’t just a great recipe; it’s a meticulously clean machine. Neglecting proper cleaning can lead to bacterial growth, off-flavors, and even premature equipment failure. Keeping your ice cream maker spotless ensures both food safety and the longevity of your beloved appliance, allowing you to churn out perfectly frozen treats for years to come.
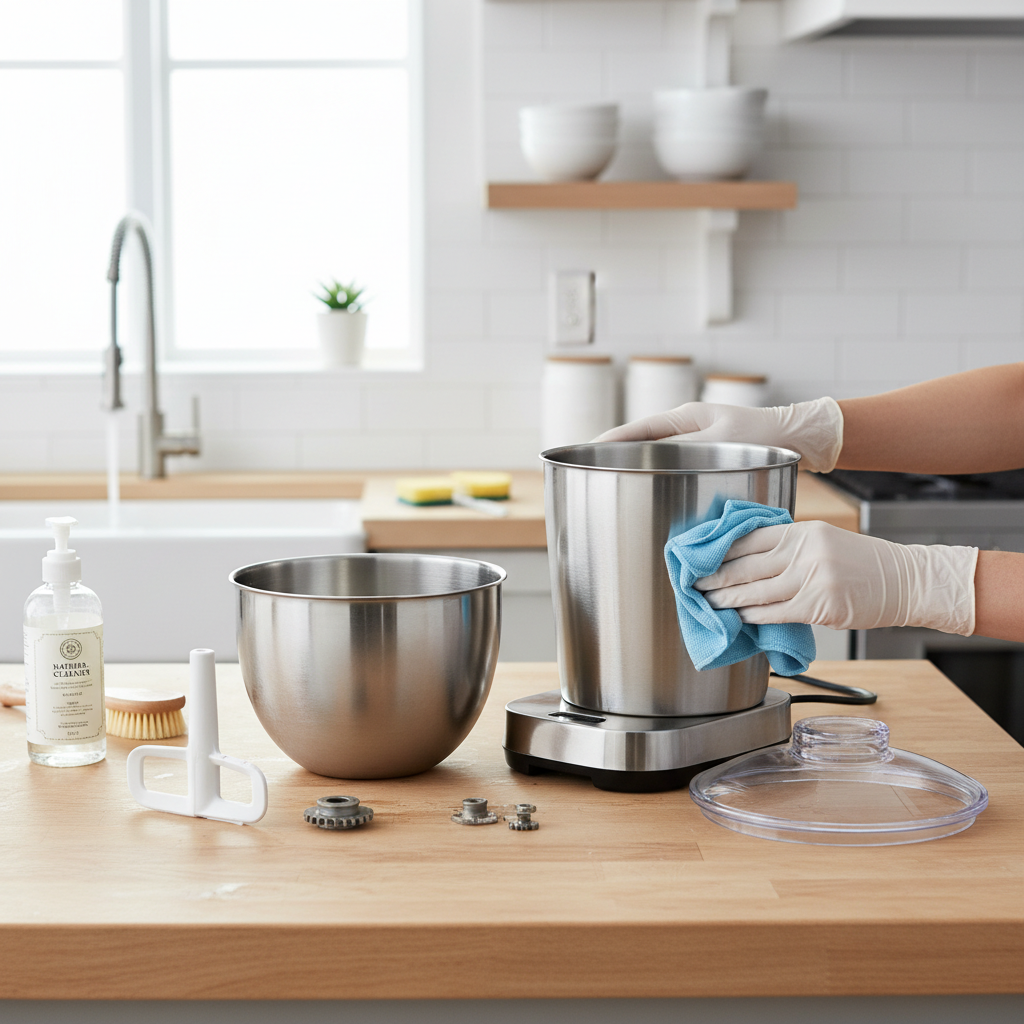
Types of Ice Cream Makers and Their Cleaning Nuances
Understanding your specific ice cream maker’s design is the first step to safe and effective cleaning. Different models have unique requirements, primarily concerning their power source and cooling mechanism.
- Household vs. Professional Machines: While professional-grade machines often have built-in wash cycles and more robust, sometimes self-pasteurizing systems, household models require more manual intervention. Commercial units typically demand daily or twice-weekly disassembly and cleaning to comply with health codes, whereas home machines might allow for slightly less frequent deep cleaning, depending on usage.
- Compressor vs. Freezer Bowl Models: Compressor ice cream makers have a built-in refrigeration unit, meaning their bowls are not removed and frozen separately. These machines require careful internal cleaning of the chamber. Freezer bowl models, conversely, rely on a bowl pre-frozen in your freezer. The main unit of a freezer bowl model is typically just a motor base, which should never be immersed in water.
- Stand Mixer Attachments (e.g., KitchenAid): Many popular brands offer attachments for stand mixers. For a KitchenAid ice cream maker attachment, the dasher (paddle) is often dishwasher safe on the top rack, but the freeze bowl and drive assembly must be hand-washed. The freeze bowl should also be allowed to reach room temperature before cleaning. Always consult your owner’s manual for precise instructions.
Essential Cleaning Supplies
Having the right tools on hand makes the cleaning process much smoother and more effective.
- Mild Dish Soap or Specialized Cleaner: For most removable parts of household machines, a mild dish soap is sufficient. However, for commercial or frequently used machines, or to tackle stubborn dairy residues and milkstone, a specialized food-grade cleaner designed for dairy equipment (like Stera-Sheen green label, which also acts as a sanitizer) is highly recommended. These specialized cleaners effectively break down milk fats and prevent milkstone buildup.
- Soft Cloths, Sponges & Food-Grade Brushes: A non-abrasive sponge or soft cloth is ideal for wiping surfaces, preventing scratches. Food-grade brushes are indispensable for reaching into nooks, crannies, and internal components where residue can hide.
- Food-Safe Sanitizer: After cleaning, sanitizing is crucial to kill bacteria and ensure food safety. Look for a food-grade sanitizer specifically recommended for soft-serve machines or dairy equipment. Some specialized cleaners also double as sanitizers, eliminating the need for a separate sanitizing step. Always avoid bleach unless explicitly stated by the manufacturer, as it can be corrosive and potentially damaging to certain machine parts.
- Food-Grade Lubricant: For machines with moving parts, such as O-rings and seals, a food-grade lubricant is necessary after cleaning and before reassembly to ensure smooth operation and extend the life of these components.
- Clean Towels: For thorough drying of all parts, preventing water spots and potential mold growth.
Step-by-Step Guide to Cleaning Your Ice Cream Maker
Follow these steps for a comprehensive and safe cleaning routine.
-
Preparation: Unplug, Empty, Rinse
Safety first: always unplug your ice cream maker before you begin any cleaning. Next, carefully drain any remaining ice cream mix from the freezing chamber into a food-safe container, if applicable, or discard it. Then, rinse the machine with lukewarm water to remove large chunks of residue and help loosen any stuck-on mix. This preliminary rinse is vital for efficient cleaning. -
Disassembly: Remove All Detachable Parts
Refer to your owner’s manual to identify and carefully remove all detachable parts that come into contact with the ice cream. This typically includes the lid, mixing paddle (dasher), freezer bowl (for freezer-bowl models), dispensing handles, and any feed tubes or drip trays. Handling these components gently is key to avoiding damage. -
Washing Detachable Parts: Hand Washing vs. Dishwasher Safety
Wash all removed parts with warm, soapy water. Use a mild dish soap and a soft cloth or food-grade brush to scrub away any leftover ice cream or residue. Rinse them thoroughly under clean, running water, ensuring all soap residue is removed.“Always check your machine’s manual for dishwasher compatibility. While some components, like a KitchenAid dasher, might be top-rack safe, many freeze bowls are not and should be hand-washed to prevent damage.” – ReviewDotz Admin, Ice Cream Machine Expert.
-
Cleaning the Base Unit: Wipe Down, Avoid Immersion
For the main unit or motor base, use a damp cloth soaked in mild detergent to wipe down both the exterior and interior surfaces. It is crucial to never immerse the motor base or any electrical components in water, as this can cause severe damage or electrical hazards. -
Tackling Stubborn Residue & Milkstone: Specialized Solutions
If you encounter stubborn stains, dried-on mixtures, or a white/gray film known as milkstone, consider using specialized cleaning solutions designed for dairy equipment. General-purpose cleaners may not effectively remove milkstone, which can harbor microbial contaminants. For tough spots, a paste made of baking soda and water can be a gentle yet effective alternative for non-abrasive surfaces. [cite: 1, 5 (search result)] -
Rinsing Thoroughly: Remove All Cleaning Agents
After scrubbing, rinse all parts again with clean water to remove every trace of cleaning solution. For machines with internal chambers, run several cycles of clean water through the system until the water runs clear. This step is critical before sanitizing to ensure no cleaning agent is left behind that could affect the taste of your ice cream or interfere with the sanitizer’s effectiveness. -
Sanitization: The Critical Step for Food Safety
Once all parts are thoroughly clean and rinsed, it’s time to sanitize. Mix a food-grade sanitizer with water according to the manufacturer’s instructions. Soak the disassembled parts in this solution, or for machines with a wash cycle, run the sanitizing solution through the machine for the recommended time (e.g., a minimum of 1-5 minutes). This step is vital for eliminating bacteria and maintaining hygiene. If using a no-rinse sanitizer, follow instructions carefully; otherwise, a final rinse with clean water might be necessary. -
Drying Completely: Preventing Mold and Malfunction
Thoroughly dry all cleaned and sanitized parts with a clean, soft towel. Allowing parts to air dry completely on a clean surface can also work. Any residual moisture can lead to mold growth or operational issues. For freezer bowls, ensure they are completely dry before returning them to the freezer. [cite: 4 (search result)] -
Lubrication & Reassembly: Extend Machine Life
Before reassembling, apply a thin layer of food-grade lubricant to O-rings and seals, especially on commercial machines or models with complex dispensing mechanisms. This lubrication is essential for maintaining a proper seal, preventing leaks, and reducing wear and tear. Reassemble the machine carefully, following your manufacturer’s manual to ensure all parts are correctly in place.
Cleaning Frequency for Optimal Hygiene
How often you clean your ice cream maker largely depends on its usage and type.
- After Each Use: Quick Rinse: For household machines, after each batch, a quick rinse of the removable parts with warm water and a wipe-down of the main unit is good practice to prevent immediate buildup.
- Regular Deep Cleaning:
- Household Freezer Bowl Models: A thorough disassembly and cleaning with soap and water is recommended after every 1-2 uses or at least once a week if used regularly.
- Household Compressor Models: A similar deep cleaning frequency as freezer bowl models, focusing on the internal chamber and removable parts.
- Professional Machines: Many commercial units require a basic clean every other day and a complete disassembly and deep clean, including sanitization, at least once a week. Self-pasteurizing machines may extend this deep cleaning interval to every 21 days, but they still require a pasteurization cycle every three days. [cite: 3 (search result)] Always align with local health codes and manufacturer guidelines.
Troubleshooting Common Cleaning Challenges
Even with best practices, you might encounter a few hurdles.
- Addressing Stuck-on Ice Cream: If ice cream has hardened inside the bowl or on parts, allow them to soak in warm soapy water for 15-20 minutes before gently scrubbing. For frozen-solid residue in a freezer bowl, using cold water from the tap can help melt and dislodge it without requiring the entire bowl to thaw. [cite: 3 (search result)]
- Dealing with Odors: Persistent odors often indicate bacterial buildup or milkstone. Ensure you are using a proper food-grade sanitizer and potentially a milkstone remover. A thorough deep clean, focusing on all hidden crevices, should eliminate odors.
- Preventing Scratches and Damage: Always use soft cloths, sponges, or food-grade brushes. Avoid abrasive scouring pads or harsh chemical cleaners, as these can scratch surfaces or damage the machine’s components. Follow the grain when cleaning stainless steel models to prevent visible scratches. [cite: 4 (search result)]
Maintaining Your Ice Cream Maker for Longevity
Beyond cleaning, consistent maintenance will significantly extend your machine’s lifespan.
- Regular Inspection of Parts: Periodically inspect all removable parts, especially O-rings, seals, and paddles, for signs of wear, cracks, or damage. Worn-out parts can lead to leaks, inefficient operation, or hygiene issues.
- Proper Storage: Store your ice cream maker in a cool, dry place when not in use. Ensure all parts are completely dry before storage to prevent mold or mildew. If you store the freezer bowl in the freezer, ensure it’s dry and avoid storing hard ice cream in it, as using metal scoops to pry it out can cause damage.
- Replacing Worn Components: O-rings, seals, and dispensing nozzles should typically be replaced every three to six months, as they can harbor bacteria and affect performance. Consider signing up for an auto-tune-up kit program if your machine manufacturer offers one, so you receive replacement parts proactively.
Conclusion
A well-maintained and sparkling clean ice cream maker is your best friend in the pursuit of perfect frozen desserts. By adhering to a consistent cleaning schedule, using the right supplies, and following manufacturer-specific guidelines, you not only ensure optimal hygiene and food safety but also protect your investment. Regular care prevents sticky situations, both literally and figuratively, guaranteeing that your machine operates efficiently and churns out delicious, fresh ice cream every single time. So, what delightful flavor will you create with your perfectly cleaned machine next?
Frequently Asked Questions
Can I put my ice cream maker bowl in the dishwasher?
|
Our Picks for the Best Ice cream maker in 2026
As an Amazon Associate I earn from qualifying purchases.
|
||
| Num | Product | Action |
|---|---|---|
| 1 | Cuisinart Ice Cream Maker Machine, 2-Quart Ice Cream, Sorbet and Frozen Yogurt Machine, Fully Automatic Double-Insulated Freezer Bowl Makes Frozen Desserts in Under 30 Minutes, ICE30BCP1, Silver |

|
| 2 | Ninja CREAMi Scoop & Swirl Ice Cream Maker, Soft Serve Desserts, Sorbet, Milkshakes, Frozen Yogurt and More, 13-in-1 Programs, Includes Handle and Two 16 oz 2-in-1 Pints, NC701 |
|
| 3 | Cuisinart Ice Cream Maker, 1.5 Quart Double Insulated, Sorbet and Frozen Yogurt Maker, Ready in 20 Minutes, ICE-21P1, White |
|
| 4 | Cuisinart Ice Cream Maker Machine, 2-Quart Stainless Steel Frozen Yogurt, Gelato, Sorbet, Ready in 20 Minutes, LCD Screen and Timer, ICE-70P1 |
|
| 5 | Nostalgia Electric Ice Cream Maker - Old Fashioned Soft Serve Ice Cream Machine Makes Frozen Yogurt or Gelato in Minutes - Fun Kitchen Appliance - Blue - 4 Quart |
|
| 6 | Dash My Mug Ice Cream Maker - Makes Single Serving of Gelato, Frozen Yogurt, Sorbet & More - Easy to Clean & Use - Aqua, 2 Bowls |
|
| 7 | Ninja NC301 CREAMi Ice Cream Maker, for Gelato, Mix-ins, Milkshakes, Sorbet, Smoothie Bowls & More, 7 One-Touch Programs, with (2) Pint Containers & Lids, Compact Size, Perfect for Kids, Silver |
|
| 8 | Ice Cream Maker Attachment for KitchenAid, Fits KitchenAid 4.5/5QT & 6QT Mixers, Frozen Ice Cream & Sorbet Gelato Maker, 2 Quart, White |
|
| 9 | Elite Gourmet 4Qt Electric Ice Cream Maker EIM350 Delicious Homemade Ice Cream, Gelato, Sorbet, Frozen Yogurt, 4Qt Aluminum Freezing Cannister, Durable Plastic Ice Bucket, Powerful 50W, Periwinkle |
|
| 10 | Nostalgia Electric Ice Cream Maker With 4 Qt Capacity- Old Fashioned Ice Cream Machine Makes Frozen Yogurt or Gelato in Minutes- Vintage Wooden Style Ice Cream Maker with Aluminum Canister- Light Wood |
|
Generally, no. Most ice cream maker freezer bowls are not dishwasher safe and should be hand-washed with warm, soapy water. Always consult your specific machine’s owner’s manual for definitive instructions, as dishwasher heat can damage the bowl’s internal freezing liquid.
How often should I clean my ice cream maker?
For home use, a basic rinse of removable parts is recommended after each use, with a thorough disassembly and deep clean at least once a week or after every 1-2 uses. Commercial machines often require daily or twice-weekly deep cleaning and sanitization.
What’s the best cleaner for removing milkstone?
Specialized food-grade cleaners designed for dairy equipment, such as those with milkstone removers, are most effective. These are formulated to break down stubborn milk fats and mineral deposits that general dish soaps cannot. [cite: 1, 5 (search result)]
Is bleach safe to use for sanitizing?
Using bleach for sanitizing ice cream makers is generally not recommended for household machines, as it can be corrosive to certain parts and is often not a food-grade solution for this application. Always use a manufacturer-recommended food-grade sanitizer or a specialized dairy cleaner that includes sanitizing properties.